Reverse engineer an alarm system proprietary protocol with Claude Code
Every year I spend the Christmas holidays at my family house in Italy. We have an alarm system with a mobile app that looks like it was built in the late 90’s.
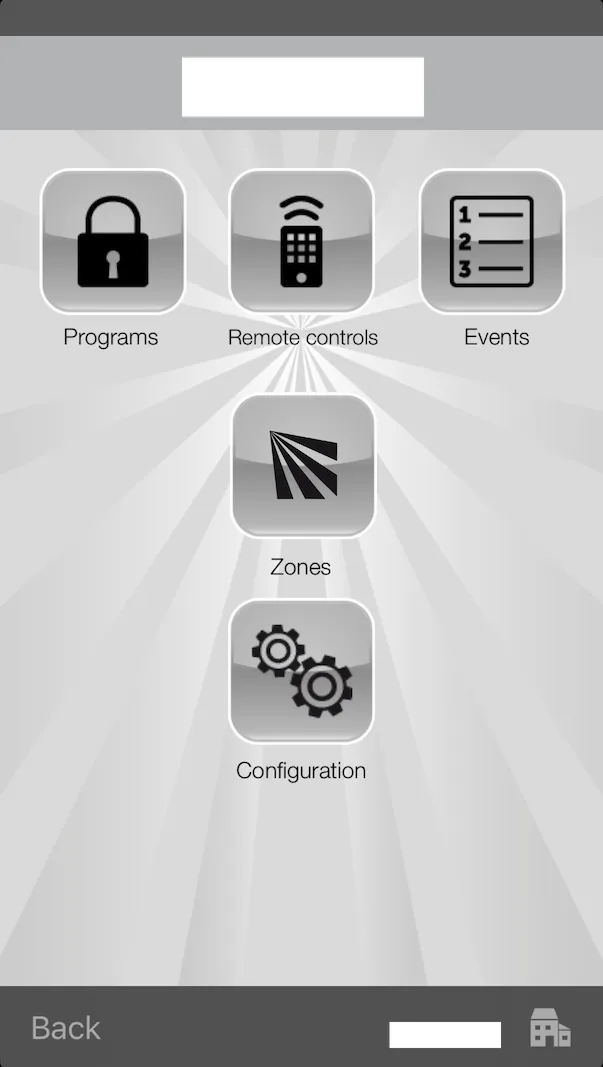
The reliability, speed and UX are horrible, as you could expect.
The alarm is connected to the LAN and it has a port forwarding that allows you to connect through the mobile app when you are away from home.
I’ve always wanted to connect the alarm to our home automation but sadly it implements a proprietary undocumented protocol.
The main use case for me would be to include the alarm disarm with the automation that I trigger when I’m coming back home with the car.
A few years ago I tried to set up a MITM proxy and capture packets with Wireshark to reverse engineer the protocol, but after spending a lot of time I gave up.
This year I decided to try again with the help of Claude Code, following a different approach.
Download the Android app .apk
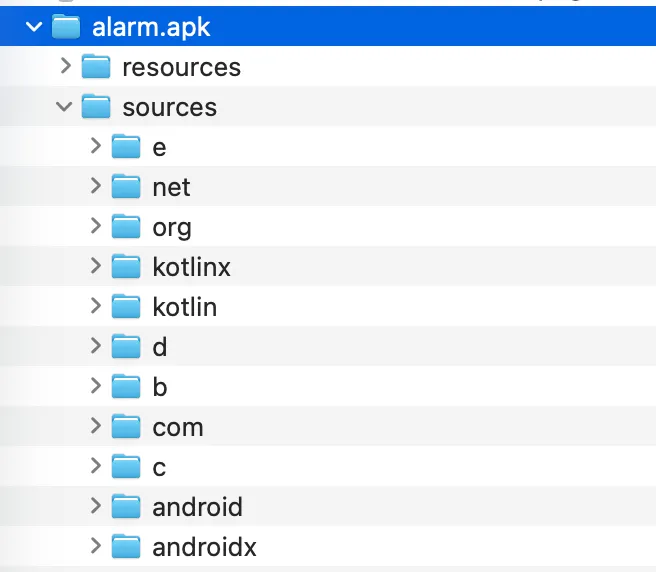
I managed to download the Android app .apk and I used the utility jadx to decompile it.
# install jadx if you don't have it yet
brew install jadx

# decompile the alarm app
$ jadx alarm.apk
INFO  - loading ...
INFO  - processing ...
INFO  - done
The end result is the Android app folder structure where you can find the source code.
Ask Claude to understand the codebase and make a plan
I’m not a Java developer and I don’t really like the language, so studying the codebase myself would take a lot of time.
Luckily this is something that LLMs are great for!
I started Claude with a basic /init to help it understand the codebase.
After that I gave Claude the full context of what I was specifically looking for and asked it to make a plan:
- understand the proprietary protocol used to communicate with the alarm panel.
- understand the usage of the commands to arm, disarm and check the status of a program.
- produce a TypeScript CLI that I could use to invoke the commands
I gave some hints to Claude as well as I knew that a PIN and a passphrase were used, and the protocol used a TCP socket.
I also scaffolded the project using Bun and told Claude how I wanted the API to behave, for example using bun run arm 1 to arm the first program.
After some time I was surprised to see that Claude was able to understand the codebase quite well and made an execution plan in order to create all the required components.
src/
├── client.ts           # High-level AlarmClient API (arm, disarm, status)
└── lib/
    ├── protocol.ts     # AlarmProtocol class - connection, auth, operations
    ├── dle.ts          # DLE message framing and byte stuffing
    ├── crypto.ts       # AES-128-CBC encryption (passphrase-based)
    ├── crc16.ts        # CRC-16 checksum
    └── socket.ts       # TCP socket wrapper
Claude got most of these details right, but some were wrong. I only caught them later when I tried running the commands.
Once the code was produced I was very excited to try it!
# check the armed/disarmed status of the program 1
bun run status 1
Sadly nothing worked. I started debugging with Claude, which added a lot of console.log statements to figure out where things were failing. The authentication wasn’t going through.
This is where Claude got stuck and started going in circles, trying different things without really understanding the problem.
Soon I ran out of tokens for the session and had to wait…

I started to think that perhaps this was not going to work.
Since I didn’t want to wait for hours, I tried Gemini CLI which offers a free tier. Surprisingly Gemini was able to find an issue with the type of AES encryption and I was able to move past the authentication point and make it work 🎉
This is part of the extensive debug logging that was added in order to figure out for each step what was expected vs received.
Authentication successful, UTN: 1
Requesting status for zone 1...
DLE message before encryption (18 bytes): 10020009010008000c090
[ENCRYPT] Input: 18 bytes
[ENCRYPT] IV before: abc12350cdb3c5955291d350714558ca
[ENCRYPT] Output: 18 bytes
[ENCRYPT] IV after: f5dae0c194160754a91a4f295518cdfb
Sending 18 bytes (encrypted): f5dae0c194160754a91a4f295518cdfb826c
Received 20 bytes (encrypted): 42047e50f48a62517dda83b83bdddc0e5427d84b
[DECRYPT] Input (new ciphertext): 20 bytes
[DECRYPT] IV before: ff6142aa3a91bbb4dc82861d1aa83ede
[DECRYPT] Rest before: 3 bytes
[DECRYPT] Combined ciphertext: 23 bytes
[DECRYPT] Output (total plaintext): 23 bytes
[DECRYPT] IV after: c4edcf42047e50f48a62517dda83b83b
[DECRYPT] Rest after: 7 bytes
Decrypted to 20 bytes: 100c000901000a000c0901000400800101007c98

-- Status for Zone 1 ---
Armed: No
In Alarm: No
Open: No
(Raw data: 80010100)
Home Assistant addon integration
With the CLI working I was able to take this to the next step and build an addon for Home Assistant. I asked Claude to scaffold the addon with a configuration that would accept some config variables from the user:
name: "Alarm"
slug: "alarm"
version: "0.1.0"
description: "Integrates my alarm system with local IP connection"
host_network: true # likely needed for local alarm IP
options:
  alarm_ip: "192.168.1.100"
  alarm_port: "10001"
  alarm_pin: "12345"
  alarm_password: "16 characters long"
  alarm_app_id: "8b0d"
schema:
  alarm_ip: str
  alarm_port: str
  alarm_pin: password
  alarm_password: password
  alarm_app_id: str
init: false
arch:
  - aarch64
  - amd64
ports:
  3003/tcp: 3003
To expose the arm, disarm and check status functionalities, I decided to build a simple API with Bun that would call the same methods used in the CLI
| Method | Endpoint | Description |
|---|---|---|
GET | /programs/:id | Get status of program/partition |
POST | /programs/:id/arm | Arm a program |
POST | /programs/:id/disarm | Disarm a program |
Claude helped me create the Dockerfile necessary to build the addon (Home Assistant addons are basically Docker containers)
FROM oven/bun:1-slim

# Copy data for add-on
WORKDIR /app
COPY package.json bun.lock ./
RUN bun install --frozen-lockfile --production

COPY src ./src
CMD ["bun", "run", "start"]
Once the addon was installed in Home Assistant I needed to create the required entities, starting from the REST commands that can be called from other buttons, scripts, automations.
rest_command:
  status_alarm_1:
    url: "http://localhost:3003/programs/0"
    method: GET
  arm_alarm_1:
    url: "http://localhost:3003/programs/0/arm"
    method: POST
  disarm_alarm_1:
    url: "http://localhost:3003/programs/0/disarm"
    method: POST
If you want to expose the current status you need to create sensors that can automatically check and update every minute
sensors:
  - platform: rest
    resource: "http://localhost:3003/programs/0"
    name: "Alarm Program 1 Status"
    scan_interval: 60
    value_template: "{{ value_json.stateLabel }}"
I created a Lovelace card to show visually the current status for all the programs supported
type: entities
entities:
  - sensor.alarm_program_1_status
  - sensor.alarm_program_2_status
  - sensor.alarm_program_3_status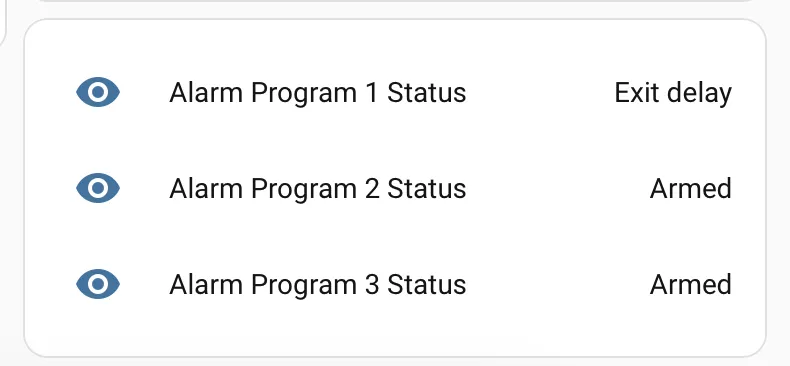
Finally I’m able to achieve the initial goal by including this part in the automation script that I trigger when I’m coming back home with the car. This automation is doing the following:
- open the gate
- open the garage door
- turn on the lights (only after dark)
- and now I can also disarm the alarm
- repeat:
    count: 3
    sequence:
      - action: rest_command.disarm_alarm_1
      - wait_for_trigger:
          - entity_id: sensor.alarm_program_1_status
            to: Disarmed
            trigger: state
        timeout:
          seconds: 3
        continue_on_timeout: true
      - condition: template
        value_template: >-
          {{ states('sensor.alarm_program_1_status') | lower !=
          'disarmed' }}
I added a retry mechanism as the alarm panel is not 100% reliable.
The power of LLMs and agentic coding tools allowed me to create something like this in a very short amount of time. What would have taken me days of debugging took just a few hours with AI assistance.